GIMP is a great tool for editing PDFs. It is quick and easy. Especially if you are already familiar with the photo editing software GIMP.
GIMP – GNU Image Manipulation Program

Unfortunately, editing and exporting multi-page PDFs if a convoluted process. I will walk you through the steps below
Step 1. Import Multi-page PDF into GIMP
Click File > Open. Select your PDF. Hold down [SHIFT] while you click each pages of your PDF. Then click Import.

Step 2. Edit your PDF as an image
Each page of your PDF will be converted into an image. You can turn the visibility of each layer on/off so you can see and edit each page.
GIMP does not have an special support for editing a PDF. Just edit as an image.
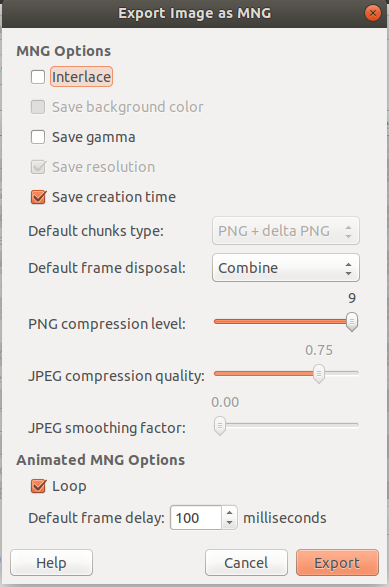
Step 3. Export Multi-page PDF
First, export as a .mng file. The default export settings worked for me.
Step 4. Convert .MNG to .PDF
First, install imagemagick.
sudo apt-get install imagemagickSecond, run this command to convert:
convert -reverse document.mng document.pdfNote: You may get an error when running this command
convert-im6.q16: not authorized `document.pdf' @ error/constitute.c/WriteImage/1037.If you get this error, here’s how to fix it:
sudo mv /etc/ImageMagick-6/policy.xml /etc/ImageMagick-6/policy.xmloutThat command disables some security settings you might want. To set things back, run this command:
sudo mv /etc/ImageMagick-6/policy.xmlout /etc/ImageMagick-6/policy.xmlConclusion
That step-by-step guide walks you though importing, editing, and exporting multi-page PDFs in GIMP. We also address a common error you might encounter. If there is anything we missed, please let me know. Have a great day!